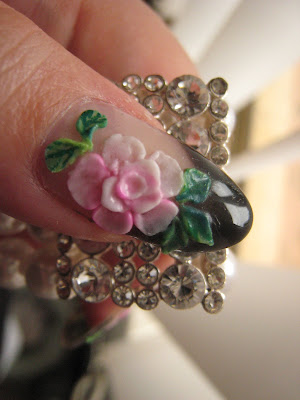
This is my first attempt to create a tutorial, as requested by Danielle from
The Diva's Polish. It's not easy trying to take photos and draw at the same time, however I hope you'll get some insight into how the 3D acrylic flowers are made. Please let me know if you've got any questions.
One of my new purchase. OPI - Royal Rajah Ruby.
Beautiful dark burgundy with tiny sparkles (2 coats).
1 coat Colour Club Vivid Colour Intensifying Top Coat.
Items used: Nfu.Oh Monomer, Nfu.Oh White Acrylic Powder, Size 4 Kolinsky Nail Art Brush, Dappen Dish
Pour some monomer into the Dappen Dish. Dip your brush into the monomer.
Note: Make sure your room is well ventilated because the Monomer smells really bad and inhaling in large quantities is really bad for your health.
Push your brush against the side of the dish to remove excess monomer.
Note: The brush used is flat with a pointed tip.
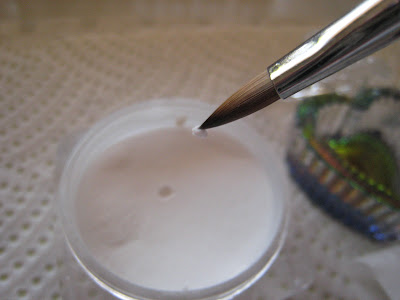
Dip your brush into the acrylic powder and pick up a tiny ball of acrylic. Depending on the size of the flower you're creating, the amount of acrylic picked up will differ. The longer your brush stay in the acrylic powder, the more it will pick up. The brush cannot be too wet or else you'll get a runny blob of acrylic. If it's too dry, the acrylic powder will fall all over the place and it'll be too hard to mould into shape. This comes with some practice, but you'll eventually get the hang of it.
Place the blob of acrylic ball onto the surface of the nail. It should be of a sticky consistancy.
If it's a little bit too wet, you can allow it to sit for a while before moulding. Sometimes you may need to dry your brush a bit on a piece of tissue before proceeding to mould the acrylic into shape.
I'm creating a simple flower here. All you need to do is to push your brush at an angle (see above) against the acrylic ball. You may need to drag your brush slightly against the pointy part to create the desired effect.
Repeat the same process with the rest of the petals.
The flower will start to take shape.
Depending on how big your petals are and how far apart you place them, this will determine how many petals you'll get on your flower.
To complete the look, I'm going to add a tiny yellow acrylic ball in the centre of the flower. Using the same technique as above, wet your brush and pick up a tiny ball of yellow acrylic powder.
You have to be very quick when picking up a small amount of acrylic.
Flower Complete!
I have heaps of monomer left in the Dappen Dish, so I made another flower.
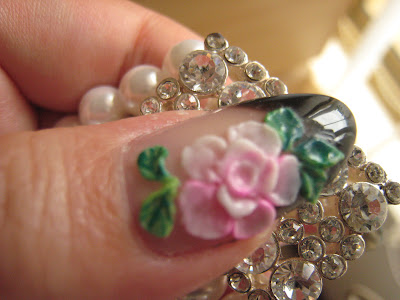
This is a slightly more complicated design. I'll create another tutorial for moulding the rose next time.
I hope this tutorial is beneficial in helping you with your 3D acrylic flower design.


