This is the tiniest set of nails I've ever done. It's for a 9 year old friend of mine that's very fascinated with nail art! They were really tiny and cute. Although it's a really simple nail art, but she was really delighted with them!


Look how small they are next to the orange stick!


This Sunflower Lamp is my latest toy. It gets really dusty in my nail room whenever I use my nail drill or nail file. This Sunflower Lamp is a table top light and a dust collector. When you turn it on, a fan will start spinning inside to suck up all the dust. All you need to do is to remove the dust from the collection bag inside after each use.

It looks really bulky!

Presenting my husband's hands. He's helping me with the demo while I take the photos.

I hope you can see the dust being sucked up while he's filing a nail tip.
I love nautical nail designs! For some reason, I'm very drawn to this nail design and have since created 2 similar versions. The first time I created this set of nails was back in December 2010. I like it so much, I've made a similar set last week, with some slight variations. This is the first time I've worn the same design twice is such a short span of time!

It takes me approximately 4 hours to create this design. This includes removal of the previous design, reshaping and prepping the nail. The first design was created with Colour Club - Soft Chiffon  and OPI - Yoga-Ta Get This Blue!


To create this design, I coloured my nails with 3 coats of Soft Chiffon. Using a small brush, I draw 2 to 3 blue horizontal stripes, depending on nail size. Then line the stripes with gold glitter. Using white and dark pink acrylic powder, draw the 3D flowers only on the thumb, middle and ring fingers. Stick on some craft chains and rhinestones and you're done!


I used a much smaller gold chains for this nautical nail art. Not only do they look nice, they are a lot easier to wear. The bigger chains I've used previously were always getting in the way when I style my hair or wear my clothes!


This is the second set I've created last week. My nails are a bit longer which means I have slightly more room to draw on. I've also changed my nail shape and used different brands of nail polish.

2 Coats OPI - Alpine White
2 Coats CND - Studio White
The Face Shop -  BL604


There are a few things to take note of when applying these craft gold chains. After you've cut the chain length to fit the nails, make sure you close off the ends properly. If not, they can feel very sharp and will cause damage to your clothes, especially if you're wearing slik or knits.

I used to apply nail glue to my nails first before placing the chain ontop. I've since reversed this application process. Firstly, the glue will cause the gold chain to harden. If you place the chains on top of the glue, it's harder to move them around if you're not happy with the placement. Also, you want to place the chains flat, this will make them much easier to wear.


I saw this set of teddy bear nails in a nail magazine for Valentines Day. It looks so adorable, I just had to make a set for myself! For this set of nails, I used 3D gels instead of acrylics as they are really easy to mould and will not harden until you cure them under the UV light. That way, you can shape and reshape all you want before setting the design. The only draw back is the longer time taken to wait for the gels to harden under the UV lamp.

It took me ages to get this set done. I think it was 4a.m. before I managed to go to bed (started at 11pm)! But it was really fun making them. 


One of my favourite red nail polish!


Pushed a rhinestone into the 3D Gel before setting it in the UV lamp

I made this set of nails for a friend using pink gel, black fabric lace, which is embedded under clear gel.
I also made some 3D acrylic bows and outlined the edges with silver glitter. It really makes a lot of difference to outline black acrylic bows. It seems to pop up so much more!


I wanted to stay away from the usual pink and red for Valentines day. But I also wanted it to be a bit glam. Nothing more appropriate than glitter and hearts for Valentines day!

For this mani, I bring together OPI's 'Glitzerland' and OPI burlesque collection's 'Glow Up Already!'. The glitter in 'Glow Up Already!' has a bit of gold and green in it. It matches quite nicely with the pale gold 'Glitzerland'.


A small heart on the middle finger made with light green bullions

I added this light gold flake inside all the hearts


 Happy Valentines!
My attempt to draw rabbits was an epic failure! haha but I've going to post them anyway.
The funny thing is that I'm actually getting mixed reactions for this. Some little kids saw my nails and they say cute bunnies. My relatives say it looks like an albino mouse. And the best description I got for it was RAT-BITS! hahaha I think the trick is to draw the ears wider and longer to prevent it from looking like a mouse.


2 coats of OPI - Isn't It Romantic?


Topped with OPI's - Teenage Dream (love the big glitters!)
With Chinese New Year just around the corner, I've created a set of red embedded acrylic rose design for my sister.

This is my first time creating embedded acrylic flowers. They are a little bit more time consuming but they certainly look very pretty. I've decided to create a tutorial for this post. Hope you'll give this a try too.

First you'll need some red colour acrylic powder and some monomer.


I'm using a nail tip here for demo but if you're applying over your natural nails, remember to prep it as you normally would for acrylic overlay.

 Apply an even layer of the red acrylic over your nails.


After the acrylic hardens, gently roughen the surface with a nail file.


I've got 2 types of gold glitter here. One is an extra shimmery gold glitter and the other is a flaky glitter.


Apply the flaky glitter at the top part of the nail and the other one at the bottom of your nail.


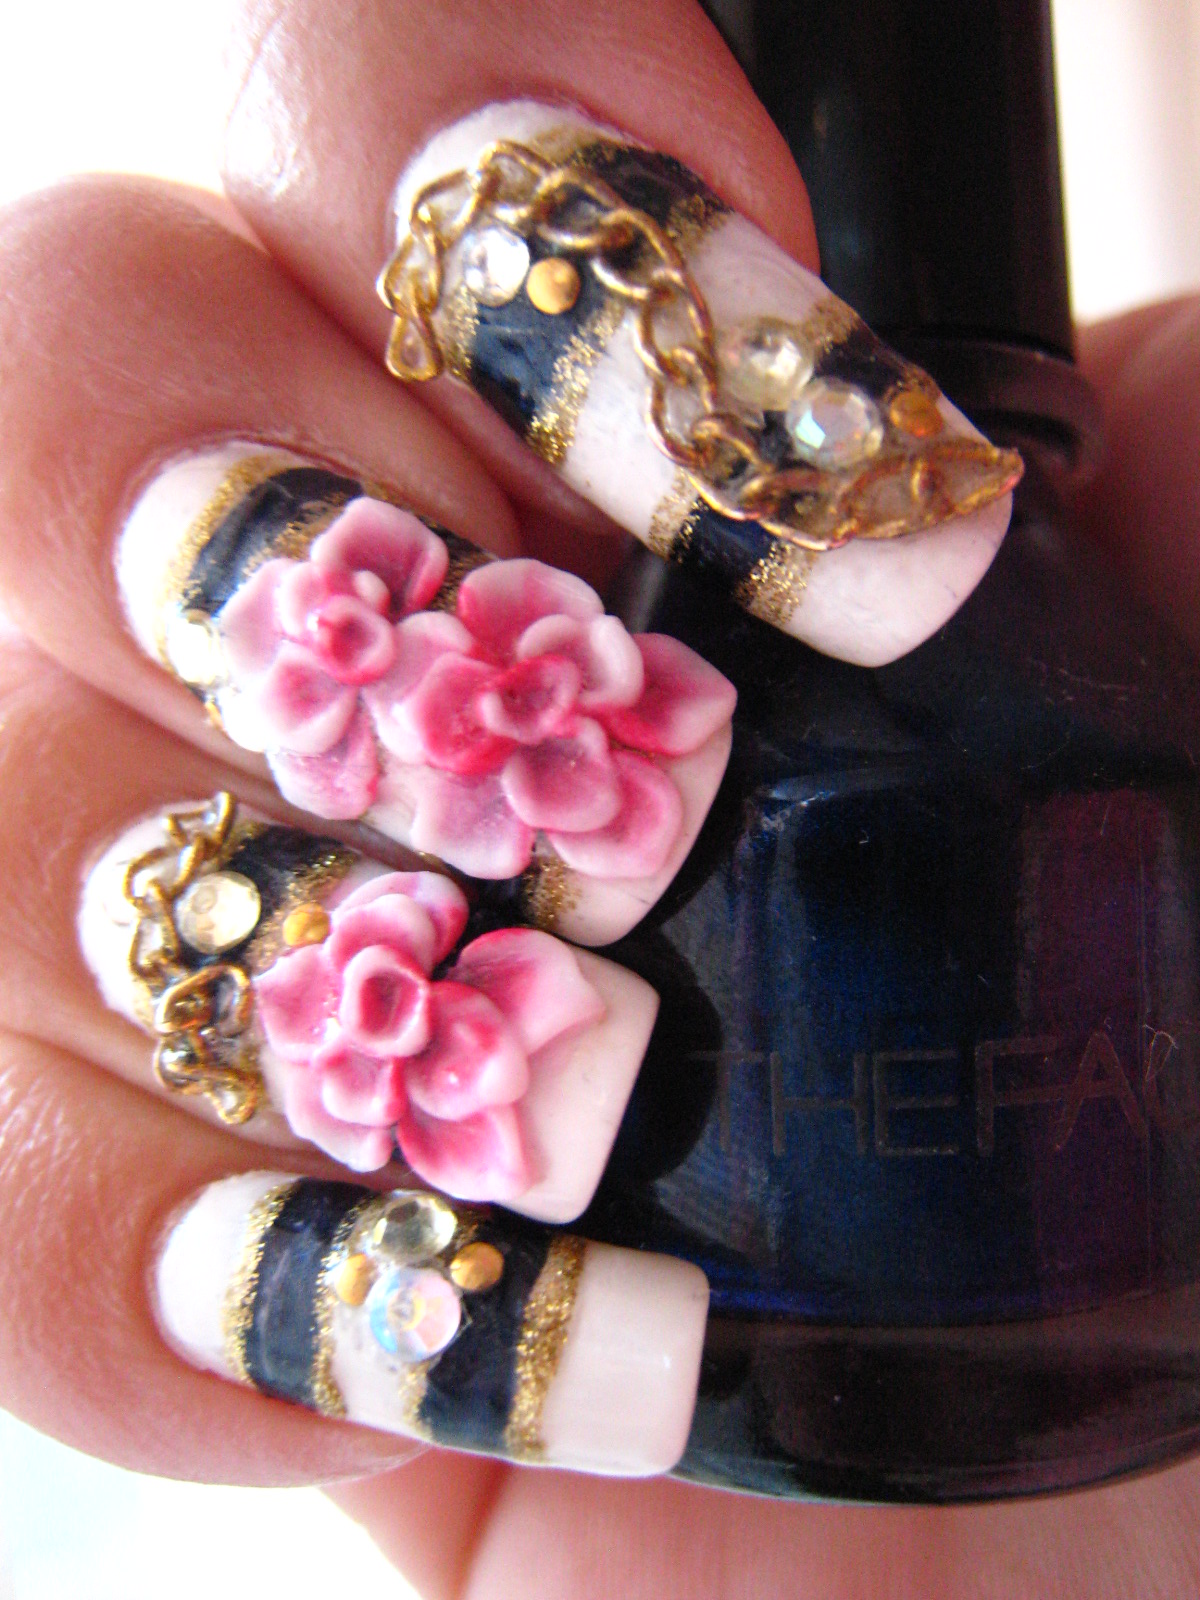
Using white acrylic powder, draw a 3D rose flower. Don't make the petals too flat. Give it some thickness.
Next, I'm going to introduce to you a new product I bought. It's the Young Nails Imagination Art Liquid. The one I got is red colour, but they've also got blue and yellow. You can mix the colours together to create different shades of colours!


This clear coloured liquid is then added to your regular monomer.

Looks like blood!
 Be careful handling this liquid. It is extremely pigmented. I accidentally got some onto my skin, nails and table and it took me ages to clean it out!

Mix the red colour liquid into your monomer with a brush. Dip the brush into the red monomer mixture and then dip it into the pot of clear acrylic powder. Your clear acrylic powder will turn red.

This liquid is great because you can mix the colours and get different shades of clear acrylic. It's handy if you don't have non opaque jelly like acrylic powders.


Apply the clear red acrylic ontop of the 3D rose and cover the entire nail evenly. At this stage, you can add more glitters.


Allow the acrylic to hardden and dry out. Then use an electric file to file back the clear red acrylic until the white rose petals start to appear. You can manually file it back as well, but the electric file will definitely be faster.


Use a finer file to even out the nail and then apply a layer of gel to seal it.


These are some of the other nails that I've created using the same method. You can also just embed the gold glitter and flaks. They look very nice on their own as well.


Happy Chinese New Year!