I love nautical nail designs! For some reason, I'm very drawn to this nail design and have since created 2 similar versions. The first time I created this set of nails was back in December 2010. I like it so much, I've made a similar set last week, with some slight variations. This is the first time I've worn the same design twice is such a short span of time!
It takes me approximately 4 hours to create this design. This includes removal of the previous design, reshaping and prepping the nail. The first design was created with Colour Club - Soft Chiffon and OPI - Yoga-Ta Get This Blue!
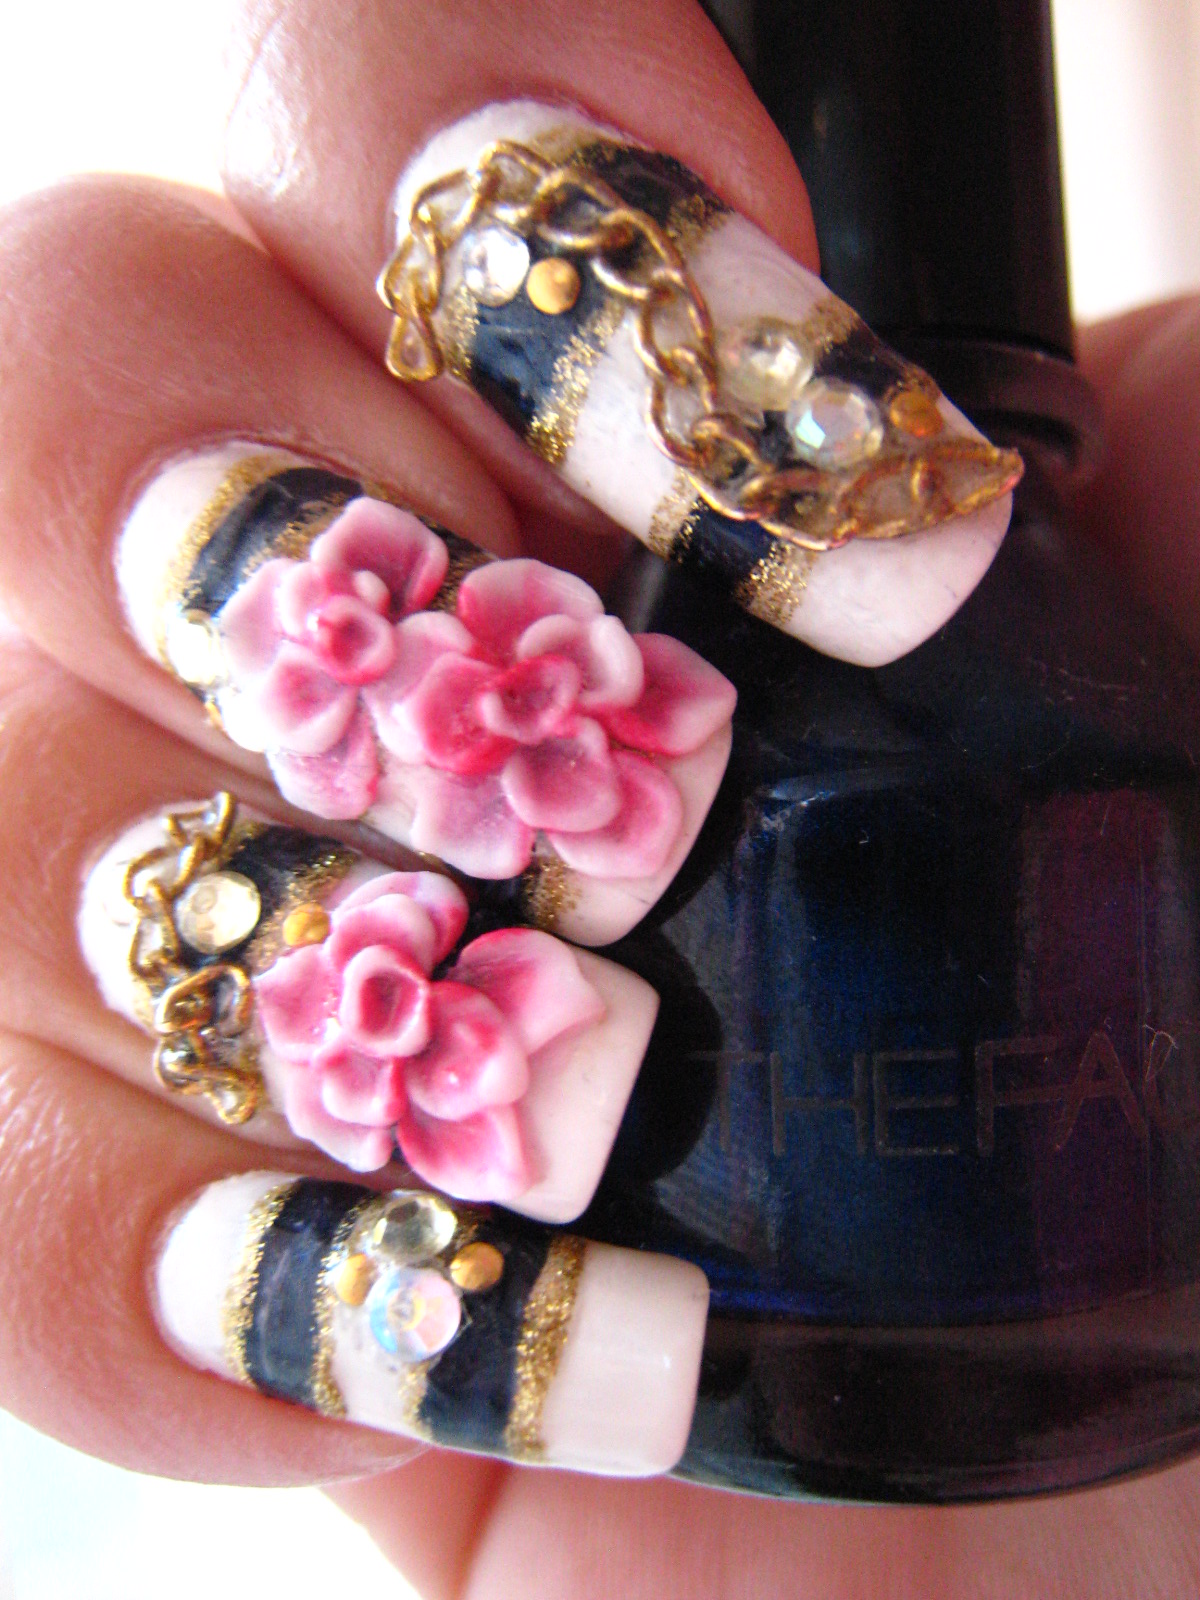
To create this design, I coloured my nails with 3 coats of Soft Chiffon. Using a small brush, I draw 2 to 3 blue horizontal stripes, depending on nail size. Then line the stripes with gold glitter. Using white and dark pink acrylic powder, draw the 3D flowers only on the thumb, middle and ring fingers. Stick on some craft chains and rhinestones and you're done!
I used a much smaller gold chains for this nautical nail art. Not only do they look nice, they are a lot easier to wear. The bigger chains I've used previously were always getting in the way when I style my hair or wear my clothes!
This is the second set I've created last week. My nails are a bit longer which means I have slightly more room to draw on. I've also changed my nail shape and used different brands of nail polish.
2 Coats OPI - Alpine White
2 Coats CND - Studio White
The Face Shop - BL604
There are a few things to take note of when applying these craft gold chains. After you've cut the chain length to fit the nails, make sure you close off the ends properly. If not, they can feel very sharp and will cause damage to your clothes, especially if you're wearing slik or knits.
I used to apply nail glue to my nails first before placing the chain ontop. I've since reversed this application process. Firstly, the glue will cause the gold chain to harden. If you place the chains on top of the glue, it's harder to move them around if you're not happy with the placement. Also, you want to place the chains flat, this will make them much easier to wear.