I've just completed this set of nails for my sister-in-law who was attending a dress up party. She wore a cute Kimono that had a black and white coloured Obi (Sash). I did this for her to match the Obi.
Thanks to Cyan from
Blue Tape and Nails who gave me the idea to use painter's tape for creating this nail art.
When I first saw this being used for nail art, I had a 'why didn't I think of that' moment. It's a really great way to cover up parts of your nail especially when you're painting different colours onto your nails. I bought this painter's tape for delicate surfaces. As you can see it's got a low-medium adhesion so it should not rip off your nail polish.
Cover up half of your nails using the painter's tape and then paint 2 coats of white.
Once the nail polish if dry, remove the tape and you can see a nice clean line.
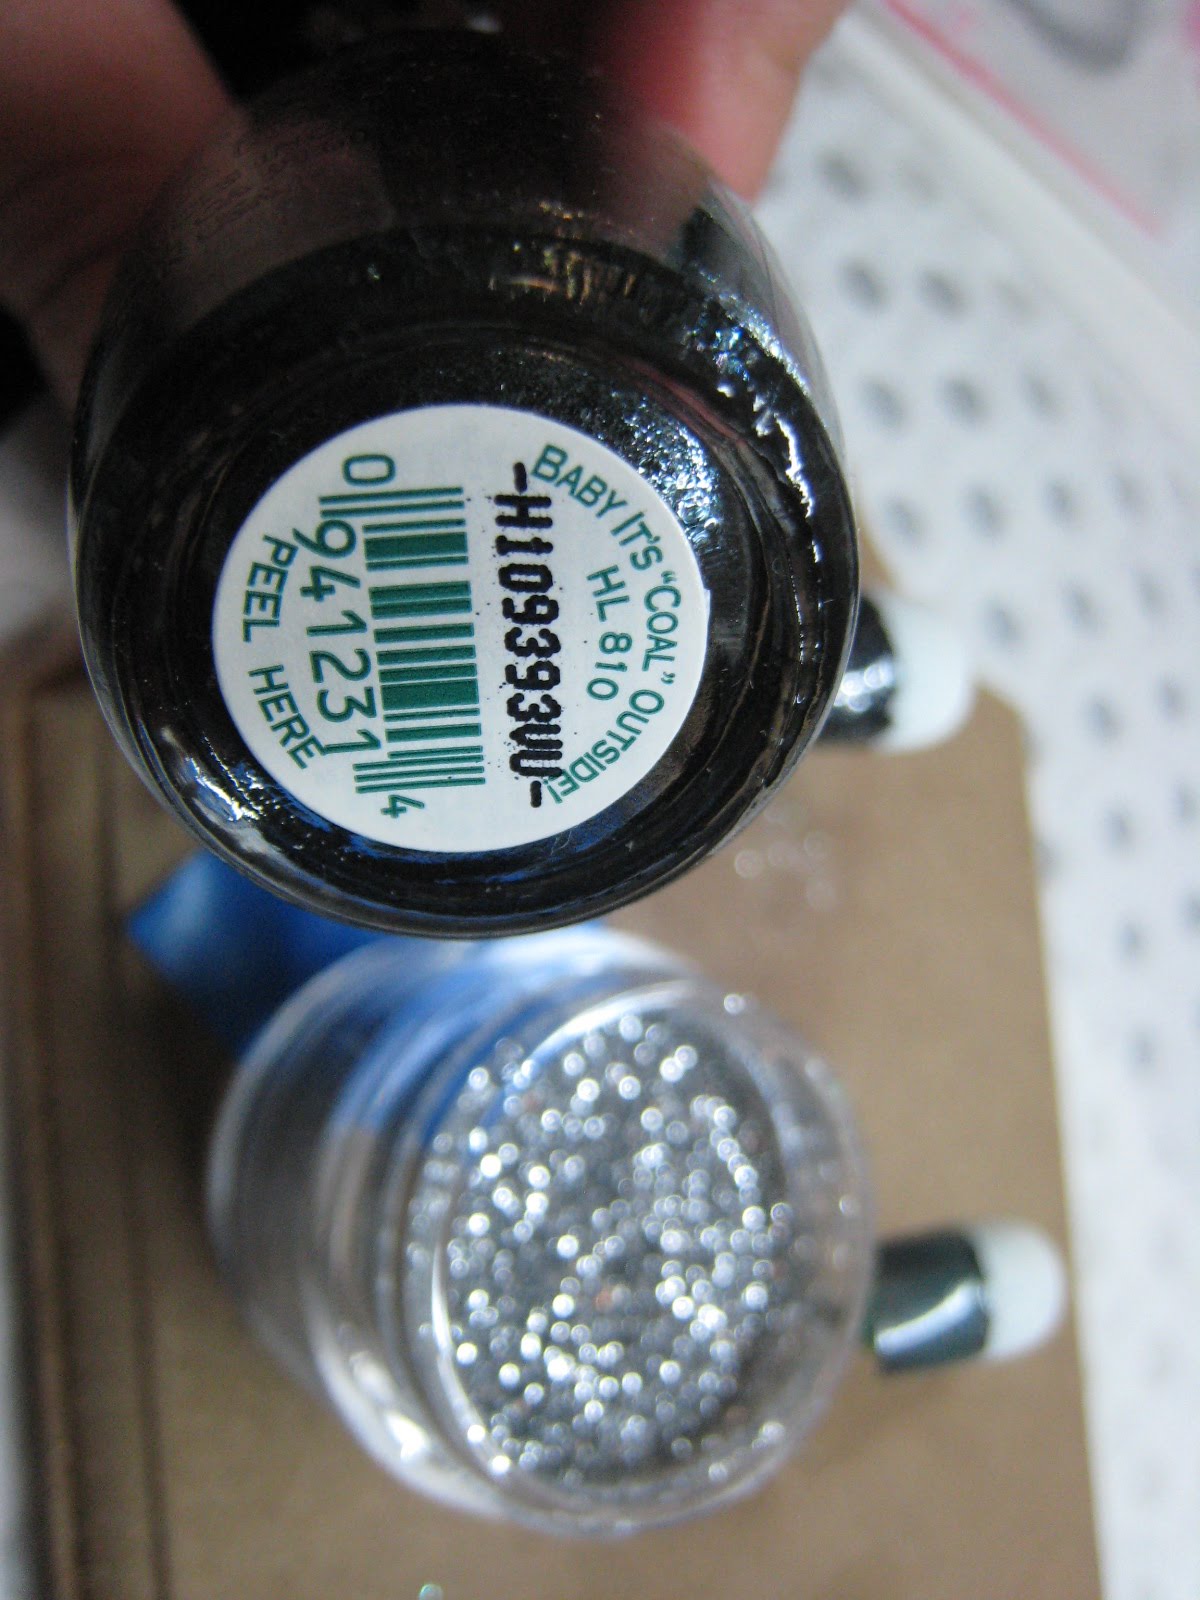
Using a darker colour (I used OPI - Baby It's "Coal" Outside), paint 2 coats on the other half of the nail.
Using black acrylic, mould a rectangle strip diagonally across the nail.
Using silver rhinestones, glue 2 rows just below the black acrylic strip. For the second line, I alternate between a large and a medium size stone. I used the magical tray and pick to create this entire set of nails as it requires a lot of rhinestones. See my post from December last year where I featured the Magical Tray '
Magical New Haul'. The combination of them both cuts the time spent by half!
Cover your 3D acrylic strip with a gel top coat and cure under the UV lamp.
Complete!
Next, I'm going to show you how to create a 3D bow.
You'll need a piece of aluminium foil, black acrylic powder, monomer, acrylic brush and a small pair of scissors.
Pick up a large blop of acrylic and mould it into a flat rectangle shape onto the aluminium foil.
I'm using a slow drying acrylic powder so that you can have more time to mould the acrylic before it hardens. Once the acrylic rectangle is hard enough to be lifted from the foil, slowly lift it using a pincer. Using a pair of scissors, trim off the 4 sides of the rectangle so that you get a straight line.
Using the pincer again, pinch the acrylic rectangle in the middle to form a bow.
Create a smaller strip of acrylic rectangle and trim off the sides. Wrap this acrylic strip around the middle section of the bow while it's still soft. I used a combination of acrylic and glue to attach the bow onto the nails. cover bow with gel top coat and cure for 90 seconds.
This is the completed bow attached onto the nail tip.
These are the design for the rest of the nails.
It looks quite complicated creating this bow, but it was quite easy once you start making it. This is the first time I'm creating the 3D acrylic bow using this method. Please let me know if you've got any questions.