Showing posts with label Brown. Show all posts
Leopard print seems to be the most in thing this season. I see it everywhere in the shops from clothing to accessories. This nail art incorporates leopard print, but in a soft and pretty kinda way.


I used 2 colours for the base, however they look very similar you can hardly see the difference in these photos. OPI - Your Royal Shyness is used nearer to the cuticles and MAC - Cream Light Affair is used where the leopard print is.


As for the middle brown stripe, I used OPI - Suzi Loves Cowboys. I also stick on silver striping tape along the brown lines.


The leopard print is hand drawn using OPI - Wooden Shoe Like to Know? and Tickle My France-Y


To give it a soft look, I added white acrylic flowers and white pearls. Some gold metal buttons were also added to give it more colour.
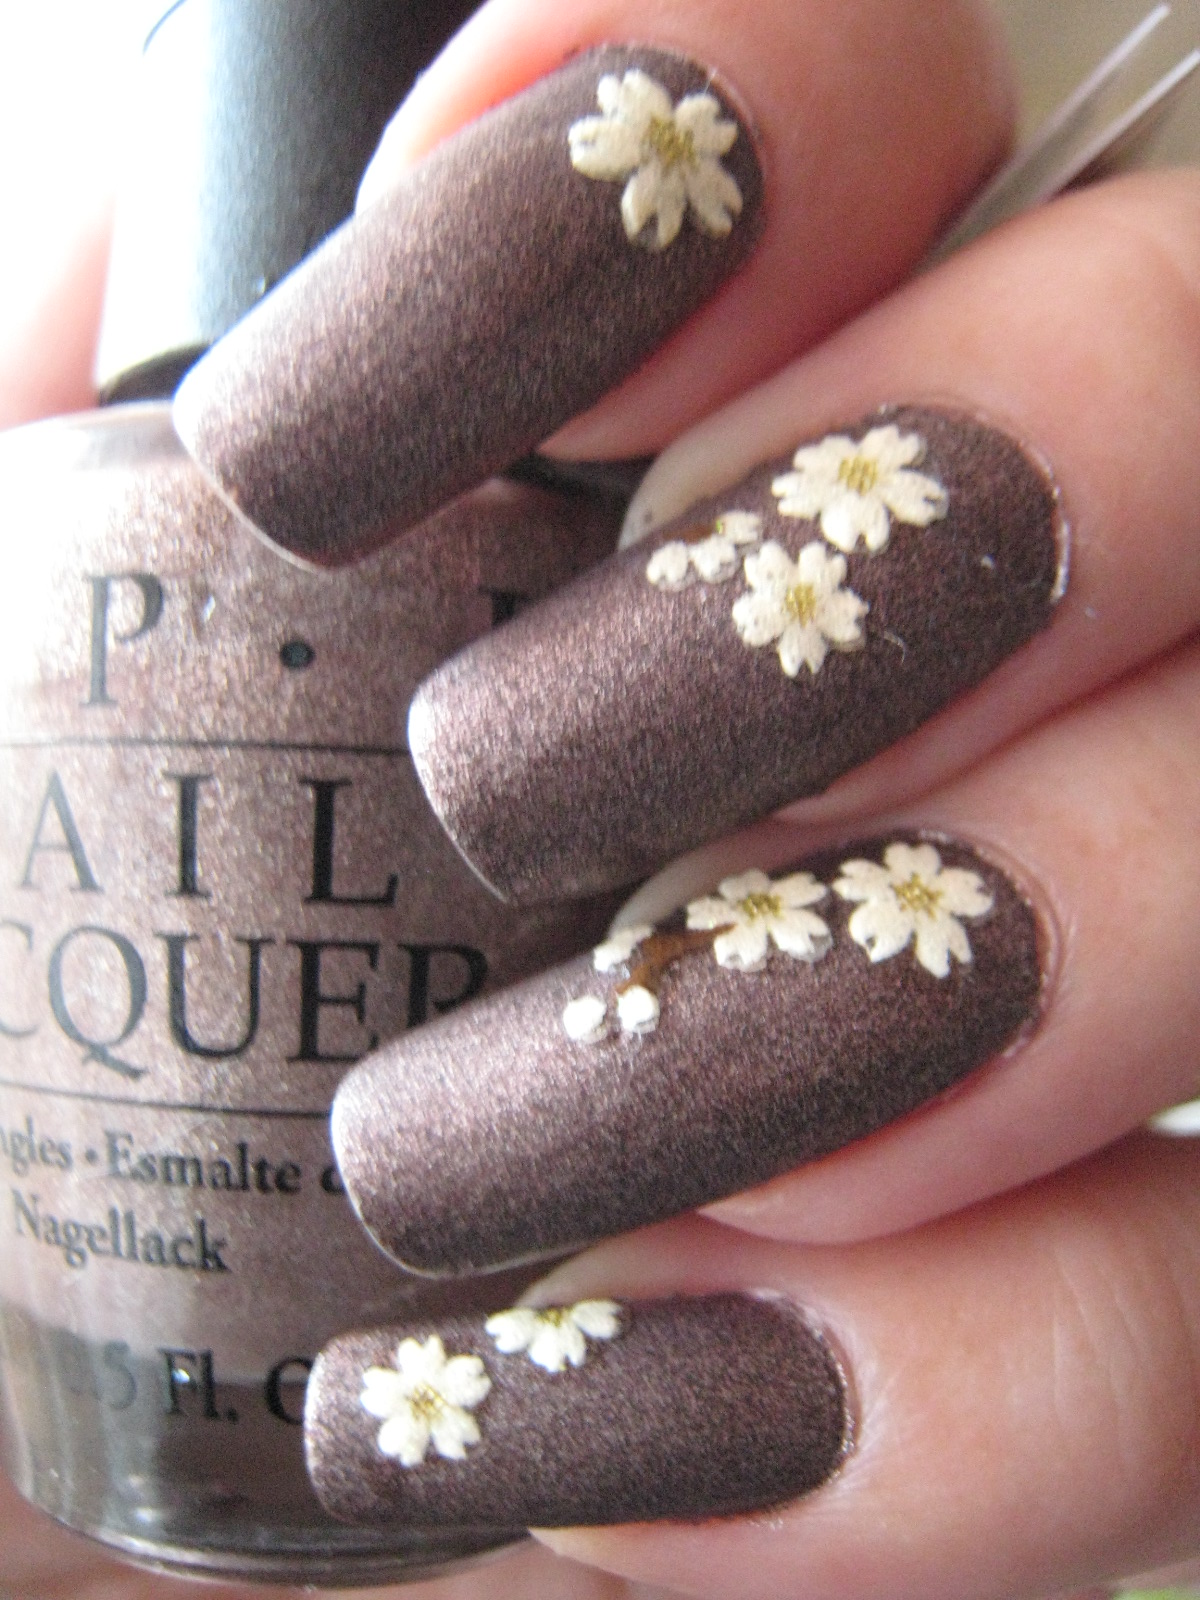
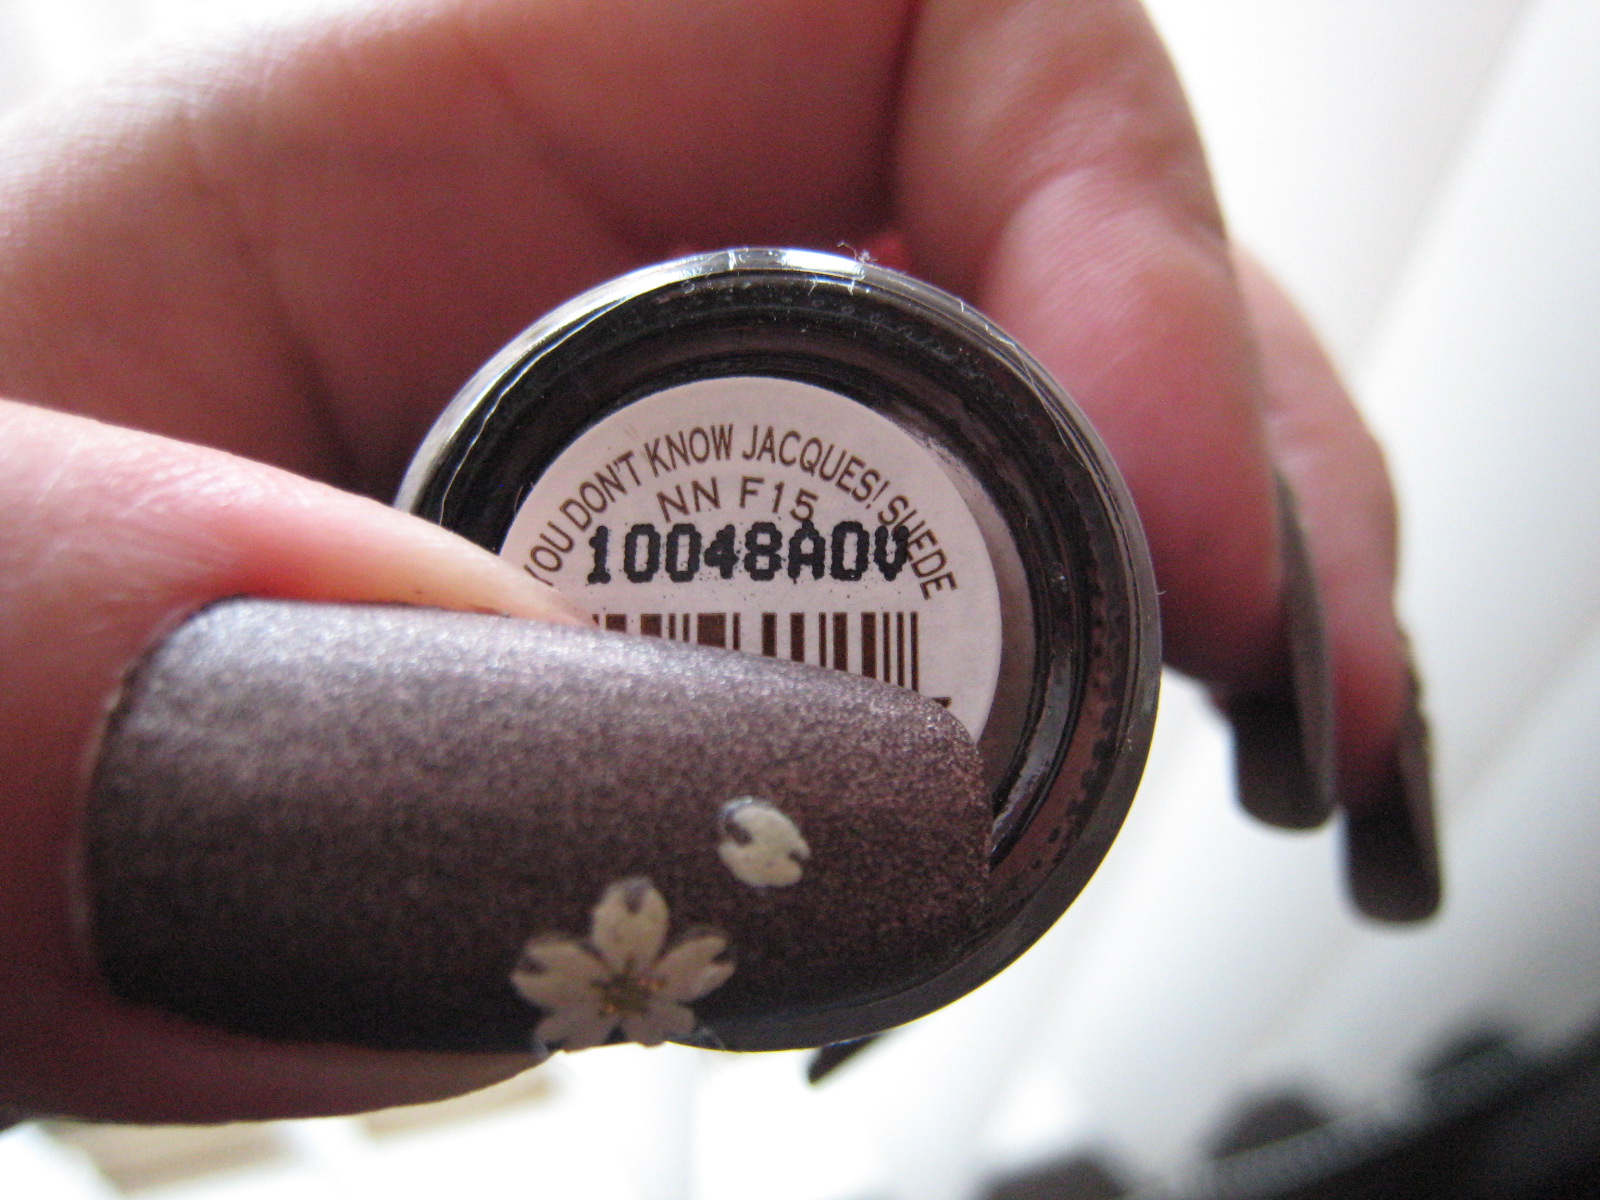
I've finally got myself a couple of bottles of OPI Suede to try. When matte nail polish just came out, I stayed away from them because I prefer a glossy finish. However, I figuered I could probably take the suede finish.


The novelty of this suede finish lasted 1 day. By day 2 I had to add some gold glitter and top coat to glam it up. hehehe Guess I'm still a glossy and bling girl after all!


I'm using my favourite gold glitter polish from Butter London. It's dense and intense, just the way I like my glitter polish!

Now to my exciting new hauls! I recently purchased a new nail drill. It's soooo much easier to remove product from my nails now. I feel like I was living in ice-age before haha having to manually file products off is hard work!


I also got 2 nail bits. The larger one is for removing products and the smaller one is for preparing the nail bed for gel and acrylic application. It's also extremely good at removing cuticles!

I also got this very cool gel kit. It comes in a pretty carry box.


This gel kit contains a few basic gel colours - Green, Yellow, Brown, Red, Blue, Black, Purple, Orange and White. It also comes with a jar of frosted pigment and powder crystal.


It also include1 bottle of Protein Bond, a tile (to mix your gel colours on) and a tool to mix your gels with.


Under the lid, there's also a removable colour wheel that teaches you how to mix different colours together to get other colours. There are endless possibilities as you can also add the frosted pigments or crystal to create a more shimmery effect. I only discovered after I've taken these pictures that behind this colour wheel, there's another wheel that gives you ideas about which contrasting colours will match each other.


Using just the blue gel, I did my toes and added blue glitters and small round glitters. I've already had this on for 1 week and it's still as good as new!
Oh I love Autumn, it's one of my favourite season. The weather's cool, the leaves are starting to turn yellow and red...sigh...I just love it.

Talking about red, I've posted about OPI's Royal Rajah Ruby a couple of times before. It's a beautiful deep reddish brown that goes really well with the autumn theme. I've used it the last 2 times over nail tips and this is the first time I'm applying it directly over my natural nails. As with most OPI nail polish it's very easy to apply without any issues.

I saw this nail art on a nail magazine and really wanted to try it. However, I keep putting it off because it seems like a lot of work. This set of nails were created by layering different types of nail art materials over each other. If you've looking for a less complicated look, you can stop at any stage and it'll still look nice. I'm going to show you how I've created this nail art step by step.

After appling 1 coat of ridge filler and a base coat, I've applied 2 coats of Royal Rajah Ruby.

Apply 1 layer of top coat. Then use a brush, to pick up some silver glitter and apply to the top half of your nails only. If you don't like complicated looks you can just stop here. I think it looks so pretty with just the glitter on.


Using some silver striping tape, apply 2 lines of tape diagonally across each nail. Alternate the direction of the diagonal strips on each nail so it doesn't look too consistant. Use a very small pair of scissors to cut the striping tape so that it's as close to the corners as possible.


Gather all the acrylic powder colours required to create the 3D flowers. Remember to keep the room well ventilated.


First dip your brush in the monomer and drain off the excess. Then, dip the tip of your brush at an angle into the white acrylic powder first then into the coloured acrylic. You just want to gently touch the surface of the powder. Don't drag your brush along the surface of the powder or else you'll not be able to pick up a nice round ball. Create a 5 petal flower first then layer a 4 petal flower ontop of it. Using the same double dip method, create the leaves.


You want to create craters like this across the acrylic powder.


Repeat the same process for all 10 fingers. You'll notice that the flowers have a matte look at the moment. Later on it'll look a lot more shiny when you coat it with gel to finish.


Using large and medium size pearls, apply them randomly on all 10 finger nails. I've also used gold bullions to decorate the centre of each flower and around it as well. To make it secure, I'm using nail glue to apply the pearls and bullions.


The matte flowers without gel top coat.

Apply 1 coat of gel and cure it under a UV lamp. This is the finishing touch to seal your 3D flowers. The gel makes it look a lot more shiny, at the same time it helps to protect the acrylic flowers and make it last longer.


The pictures below were taken on day 3 under filtered sunlight. I had to apply some extra glue where the tape meets the edge of the nail to prevent it from lifting.


Hope you like this step by step guide on how to create this look :)
It was my sister's birthday earlier this month. I miss her a lot because she lives very far away from me and we don't get to see each other very often. I think the last time I saw her in person was 2 years ago!

She's been following my website and sending me emails with comments on which nail colour she likes best. *hint**hint* So this year, I've decided to send her a set of nails for her birthday.

Nail Polish Used: OPI - Royal Rajah Ruby


 To get the correct nail tip size for my sister, I've asked her to use a soft measuring tape to measure the width of her nail bed. I didn't realise she's got such a small nail bed! 


By the way, I've just bought a new table lamp! It's super sleek and bright. Totally in love with it hehe :)


This is my first attempt to create a tutorial, as requested by Danielle from The Diva's Polish. It's not easy trying to take photos and draw at the same time, however I hope you'll get some insight into how the 3D acrylic flowers are made. Please let me know if you've got any questions.

 
One of my new purchase. OPI - Royal Rajah Ruby.

Beautiful dark burgundy with tiny sparkles (2 coats).
1 coat Colour Club Vivid Colour Intensifying Top Coat.
 
Items used: Nfu.Oh Monomer, Nfu.Oh White Acrylic Powder, Size 4 Kolinsky Nail Art Brush, Dappen Dish

Pour some monomer into the Dappen Dish. Dip your brush into the monomer.
Note: Make sure your room is well ventilated because the Monomer smells really bad and inhaling in large quantities is really bad for your health.
Push your brush against the side of the dish to remove excess monomer.
 
Note: The brush used is flat with a pointed tip.
 
Dip your brush into the acrylic powder and pick up a tiny ball of acrylic. Depending on the size of the flower you're creating, the amount of acrylic picked up will differ. The longer your brush stay in the acrylic powder, the more it will pick up. The brush cannot be too wet or else you'll get a runny blob of acrylic. If it's too dry, the acrylic powder will fall all over the place and it'll be too hard to mould into shape. This comes with some practice, but you'll eventually get the hang of it.
 
Place the blob of acrylic ball onto the surface of the nail. It should be of a sticky consistancy. 
If it's a little bit too wet, you can allow it to sit for a while before moulding. Sometimes you may need to dry your brush a bit on a piece of tissue before proceeding to mould the acrylic into shape.

I'm creating a simple flower here. All you need to do is to push your brush at an angle (see above) against the acrylic ball. You may need to drag your brush slightly against the pointy part to create the desired effect.
 
Repeat the same process with the rest of the petals.

The flower will start to take shape.
 
Depending on how big your petals are and how far apart you place them, this will determine how many petals you'll get on your flower.

To complete the look, I'm going to add a tiny yellow acrylic ball in the centre of the flower. Using the same technique as above, wet your brush and pick up a tiny ball of yellow acrylic powder.
 
You have to be very quick when picking up a small amount of acrylic.

Flower Complete!
 
I have heaps of monomer left in the Dappen Dish, so I made another flower.

This is a slightly more complicated design. I'll create another tutorial for moulding the rose next time.
 
I hope this tutorial is beneficial in helping you with your 3D acrylic flower design.