Showing posts with label Gel Overlay. Show all posts
Hi everyone I'm finally back blogging! Sorry I've been away for nearly a whole year! For those who know, I was very busy last year with house moving. It was so stressful and hectic but very fun at the same time. I'm finally settled into my new place with most of the issues sorted out.

During the most part of the second half of last year, my nails were kept very short and with no nail polish on. I had to do that for practical reasons. We were moving lots of furniture, dismantling and assembling lots of stuff and doing lots of scrubbing and cleaning. It wasn't until late November 2011 that I started wearing nail polish again. My hands by then were dry and yucky looking. It took me a while and with some proper love and care to bring them back to health.

I have started creating lots of new nail art and can't wait to share them with you guys!

Lets start with this set of nails I created last year, before I cut them all down for the big move.
They were created because I had to attend a spring wedding. I applied a clear gel overlay on my natural nails, then applied off white nail gel to the top and the bottom part of the nail. Using acrylic paint, I painted the crosses on the clear section of the nail. Then I applied a layer of clear gel to seal it up. Before I cure the top gel coat, I added the pink glitter flakes so that it sticks onto the nail after it cures. Using acrylic powder, I created the 3D nail art. I love how shiny gel nails are and how much longer the last on the nails. But the curing process takes up so much time. I am still learning how to apply an even amount of gel over the nails.


I made this set of nails for a friend using pink gel, black fabric lace, which is embedded under clear gel.
I also made some 3D acrylic bows and outlined the edges with silver glitter. It really makes a lot of difference to outline black acrylic bows. It seems to pop up so much more!


Just a quick update today. I did this set of nails a few weeks ago. Due to the clunky gold chains, it really attracted as lot of attention. For this design, it's either you love it or you hate it.


I LOVE OPI - Glitzerland. It's got a super smooth application and lasted me nearly 2 weeks with no chips!


I also did this set of nails for a friend a few weeks ago.


I have been feeling really sick the past few days. Down with a cold, plus I've finally gone for my IUI (intrauterine insemination) last Friday. I was so nervous being my first time but it all went well. I have to self administer 4 more injections the next 2 weeks before going back for a blood test to see if it's successful. The needles have grown in size dramatically! These new injections are actually pragnancy hormones used to regulate your body for a baby if successful. I'm really scared of these needles now cos they are huge and the first one was really painful. Not looking forward to my second needle this Wednesday :(

This week's nail art is ultra sweet and cute. I keep looking at them after it's been completed. As usual, being a gel overlay plus tons of nail art, it took me nearly 5 hours to complete (while watching Korean drama) hehe :)

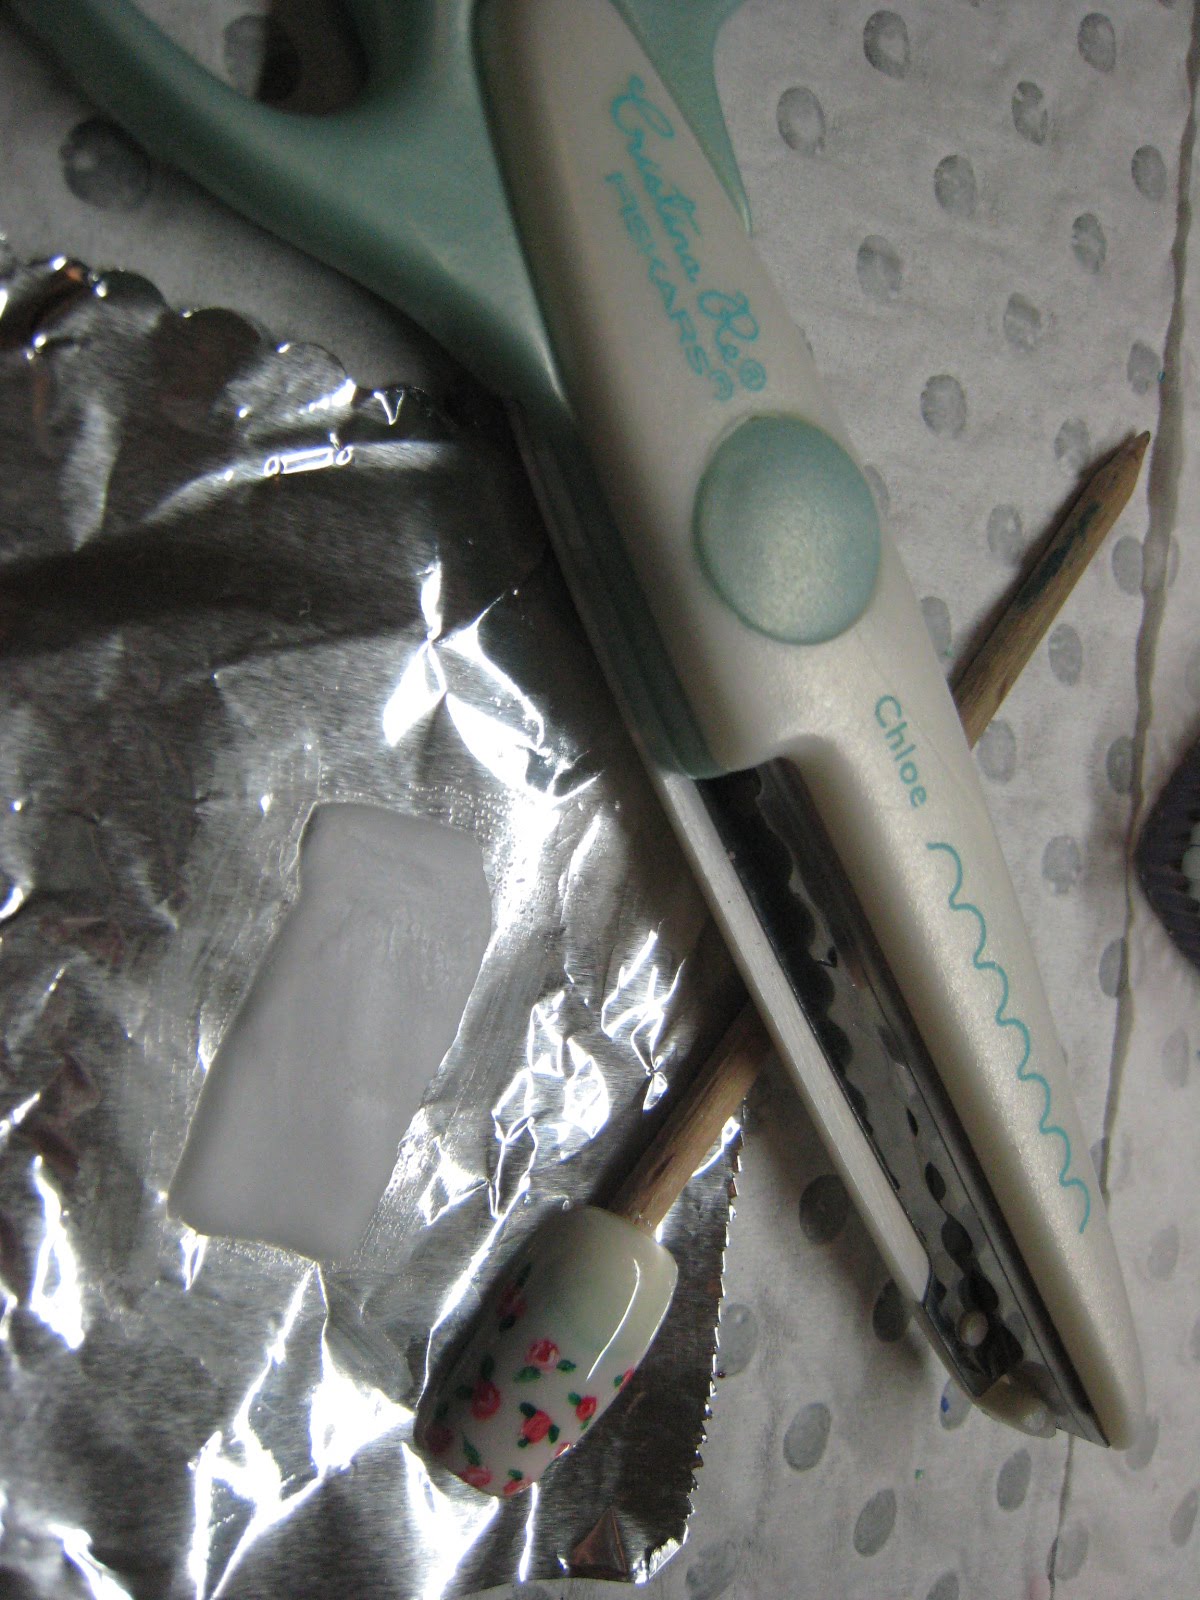
I'm going to show you another way you can use acrylic and craft scissors to create 3D lace for your nails. I made this tutorial a few days before painting it on my natural nails. 

Using my newly purchased gel colours, I mixed some cream and dusty pink colour.


Sorry about this photo, I can't seem to rotate it.


Using the 2 colours above, create a reverse french mani.


Using a bright red, white and green acrylic paint, draw some tiny roses randomly.


Cover with a layer of gel top coat and cure for 2 mins. See how shiny it becomes :)


For the 3D lace, you'll need an aluminum foil, white acrylic powder and a pair of craft scissors that cuts curvy design.


Mould a rectangle piece of acrylic on the aluminium foil. Lift the acrylic while it's still bendable and cut it on both sides length wise with the craft scissors.

You'll have to work fast or else the acrylic will be too hard and dry. Place the acrylic on the nail and bend it into shape.


Using nail glue, attach the 3D lace on the nail and cut off the excess. Add some pink dots on the top curve bits.


Using some pink 3D gel, create 3 rectangle strips and a ribbon. Space the rectangle strips out so it looks like a ribbon threading through the lace. Seal the acrylic and 3D gel with a top gel coat and cure.

Complete!


Here's the design I created on my natural nails. I did not use the 3D lace on my own nails because I was too tired after I've completed it. Instead, I covered the cream and pink joining sections with light pink pearls. Which one do you like more?


For the index and pinky, I managed to squeeze in a huge acrylic heart amd trace it with pink bullions. The pink rose on the heart is created by using 3D gels. I also used a light mint 3D gel to create some leaves around the rose. However the mint is so light it can hardly be seen.


For the right hand, I mixed a darker pink gel colour.


Fingers cross for Friday the 25th June when I will know if the IUI is successful....very nervous.
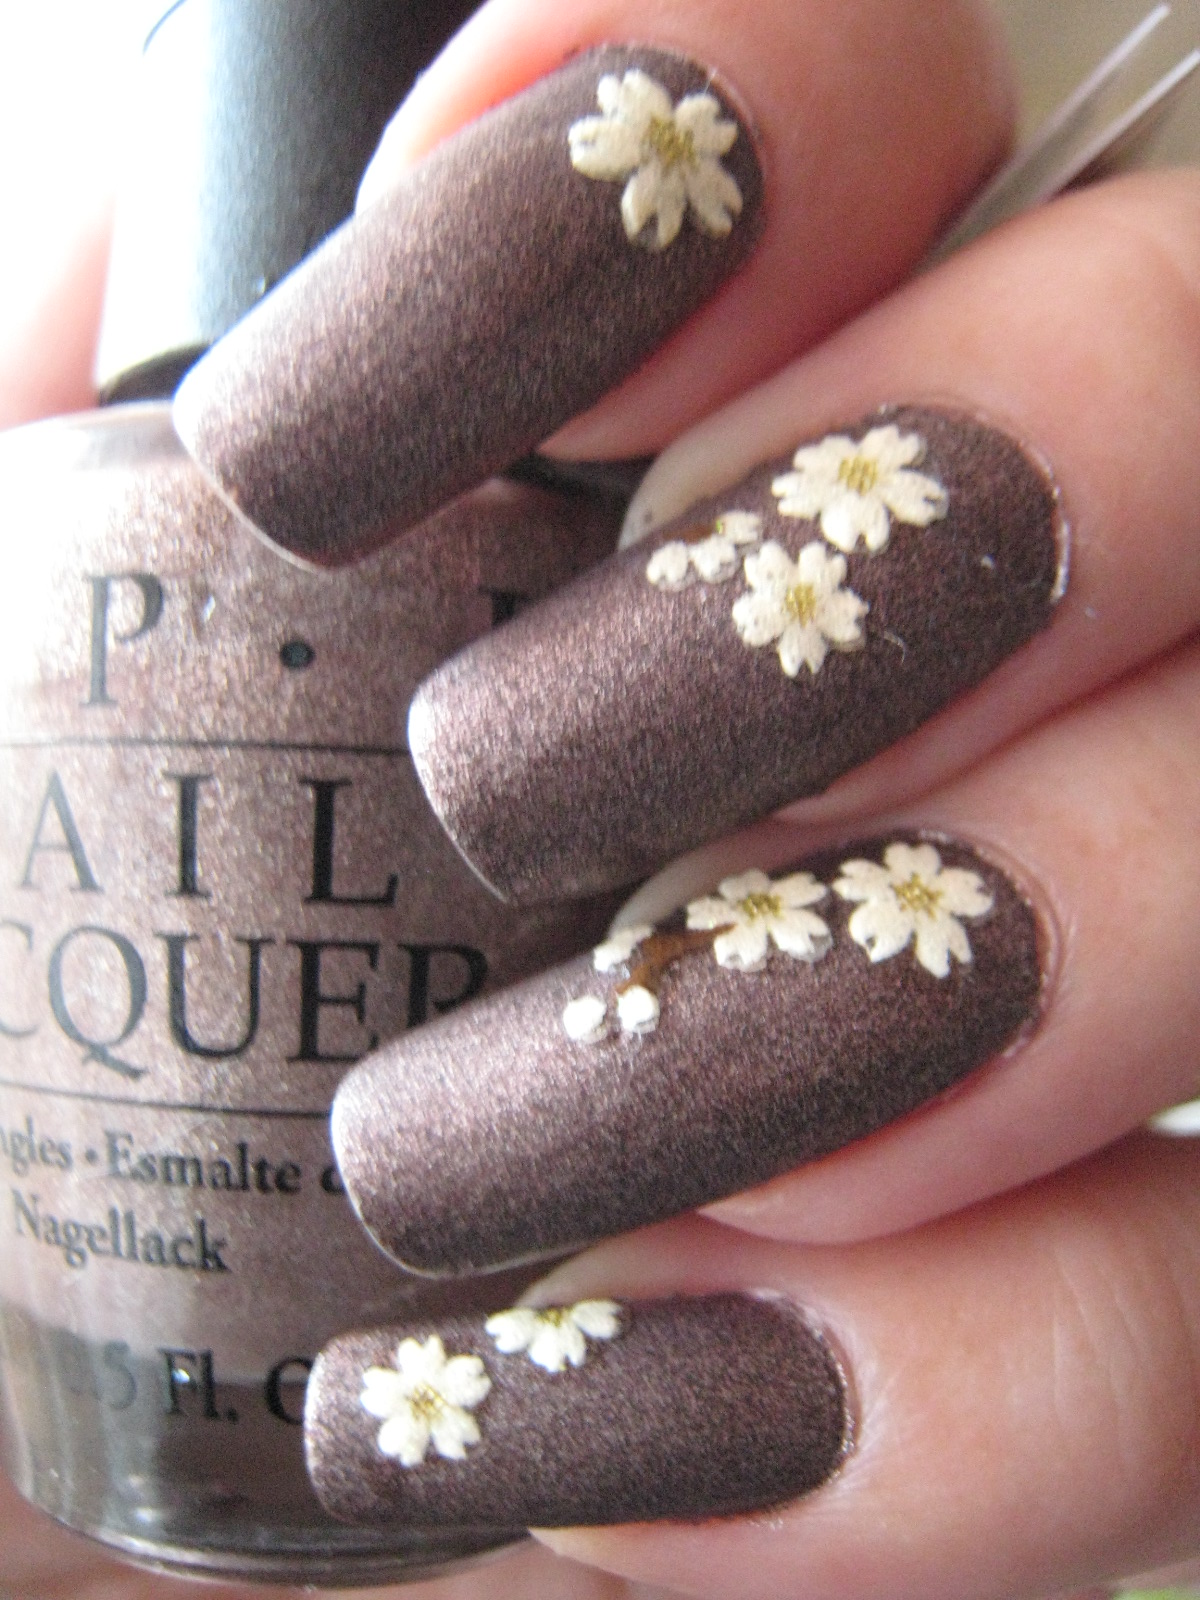
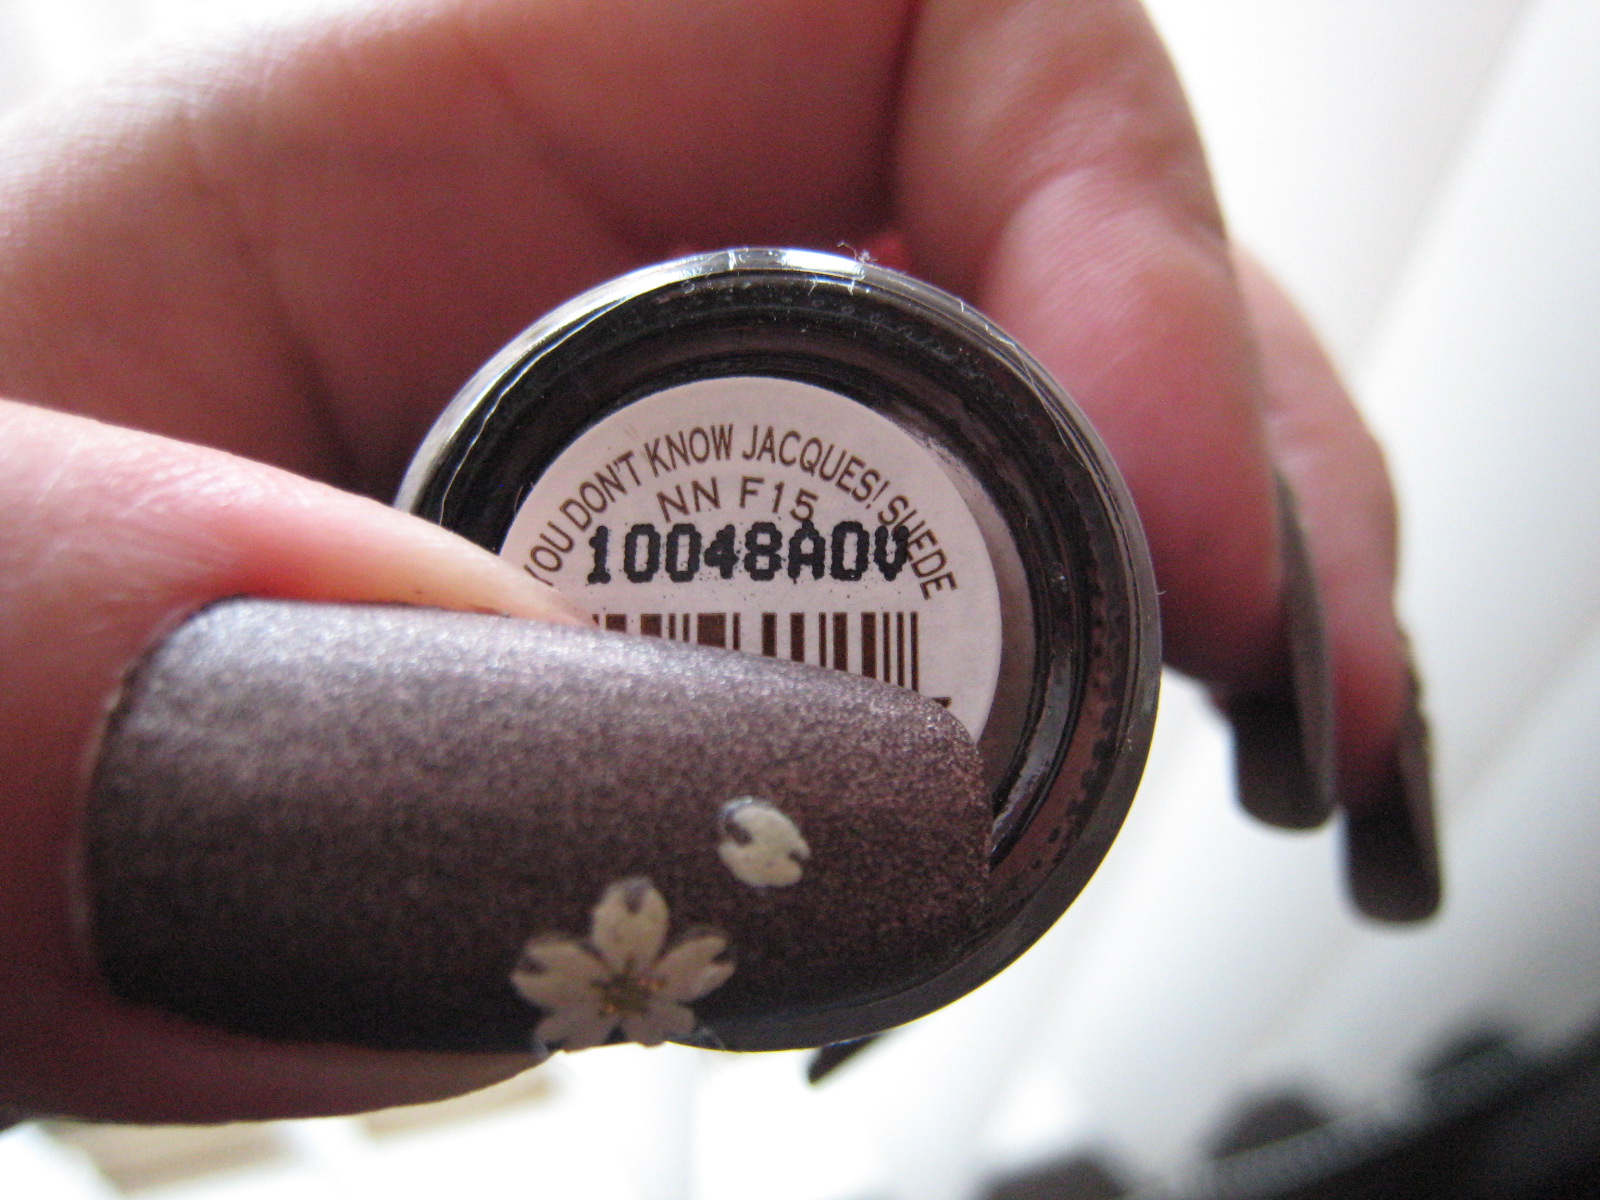
I've finally got myself a couple of bottles of OPI Suede to try. When matte nail polish just came out, I stayed away from them because I prefer a glossy finish. However, I figuered I could probably take the suede finish.


The novelty of this suede finish lasted 1 day. By day 2 I had to add some gold glitter and top coat to glam it up. hehehe Guess I'm still a glossy and bling girl after all!


I'm using my favourite gold glitter polish from Butter London. It's dense and intense, just the way I like my glitter polish!

Now to my exciting new hauls! I recently purchased a new nail drill. It's soooo much easier to remove product from my nails now. I feel like I was living in ice-age before haha having to manually file products off is hard work!


I also got 2 nail bits. The larger one is for removing products and the smaller one is for preparing the nail bed for gel and acrylic application. It's also extremely good at removing cuticles!

I also got this very cool gel kit. It comes in a pretty carry box.


This gel kit contains a few basic gel colours - Green, Yellow, Brown, Red, Blue, Black, Purple, Orange and White. It also comes with a jar of frosted pigment and powder crystal.


It also include1 bottle of Protein Bond, a tile (to mix your gel colours on) and a tool to mix your gels with.


Under the lid, there's also a removable colour wheel that teaches you how to mix different colours together to get other colours. There are endless possibilities as you can also add the frosted pigments or crystal to create a more shimmery effect. I only discovered after I've taken these pictures that behind this colour wheel, there's another wheel that gives you ideas about which contrasting colours will match each other.


Using just the blue gel, I did my toes and added blue glitters and small round glitters. I've already had this on for 1 week and it's still as good as new!
I'm trying to get more practise using gels to create a french mani. However, I didn't want to use the classic french manicure colours. I've chosen a black tip colour this time and pair it with antique looking roses.

Materials used to create this look:

The base was created using clear gel, black gel and a builder gel. I've also used a gel bonder to prevent lifting as well as a shining top gel to seal the entire nail and to make it look shiny. I created the black french mani last Tuesday. It took me 4 hours to complete! That's including time spent to remove the previous nail art and to clean my nails, cuticles and to prep it for the gel overlay.

I've also used white and 2 shades of pink acrylic to create the roses and 3 shades of green for the leaves. A darker shade of acrylic paint is also used to draw the veins on for the leaves. The 3D acrylic roses and leaves were created last Wednesday night and they took me 4 hours to complete as well. I was so tired on Thursday night I fell asleep the moment I hit the pillow hehe


My sister says they look like the roses on antique chinese porcelain plates :) These photos were taken on Saturday evening. That's nearly 4 days after I've made the gel overlay.


I tried creating some patterns on the black french tips by running the orange stick across it before curing the gel. This was done to all fingers except the thumb. I purposely left it black without any patterns just to see which one looks better.


Day 4, and my cuticles are already a mess! Good thing is that there are no signs of lifting yet. I'm trying to see how well this stays on the nail.

During the weekend I met up with fellow Perth blogger Ena from 'Shanghainese Dumpling' for dinner. She took some photos of my nails during our meeting at Subiaco. It was so much fun meeting up over dinner. We had such a great time chatting about everything under the sun, I think I ended up with a slight sore throat by the end of the evening hahaha! I've recently bought a tube of  Vitacreme B12 from Ena and she's also kindly given me some Vitacreme B12 Serum to sample. I've heard a lot about this cream (brought to fame by Japanese Actress Norika Fujiwara) and have always wanted to try it. I'll be using this cream for the next month or so and will let you guys know how it feels.

For more information about Vitacream B12 please visit - http://www.shanghainesedumpling.com
Ena is the exclusive distributor for Vitacreme B12 in AUS/NZ and there's an amazing link on her page showing the lifting and tightening effect of the new serum! The serum was only applied onto half of the face using a massage 'lifting' technique and you can see the effects immediately. Can't wait to start trying this serum :)