With Chinese New Year just around the corner, I've created a set of red embedded acrylic rose design for my sister.

This is my first time creating embedded acrylic flowers. They are a little bit more time consuming but they certainly look very pretty. I've decided to create a tutorial for this post. Hope you'll give this a try too.

First you'll need some red colour acrylic powder and some monomer.


I'm using a nail tip here for demo but if you're applying over your natural nails, remember to prep it as you normally would for acrylic overlay.

 Apply an even layer of the red acrylic over your nails.


After the acrylic hardens, gently roughen the surface with a nail file.


I've got 2 types of gold glitter here. One is an extra shimmery gold glitter and the other is a flaky glitter.


Apply the flaky glitter at the top part of the nail and the other one at the bottom of your nail.


Using white acrylic powder, draw a 3D rose flower. Don't make the petals too flat. Give it some thickness.
Next, I'm going to introduce to you a new product I bought. It's the Young Nails Imagination Art Liquid. The one I got is red colour, but they've also got blue and yellow. You can mix the colours together to create different shades of colours!


This clear coloured liquid is then added to your regular monomer.

Looks like blood!
 Be careful handling this liquid. It is extremely pigmented. I accidentally got some onto my skin, nails and table and it took me ages to clean it out!

Mix the red colour liquid into your monomer with a brush. Dip the brush into the red monomer mixture and then dip it into the pot of clear acrylic powder. Your clear acrylic powder will turn red.

This liquid is great because you can mix the colours and get different shades of clear acrylic. It's handy if you don't have non opaque jelly like acrylic powders.


Apply the clear red acrylic ontop of the 3D rose and cover the entire nail evenly. At this stage, you can add more glitters.


Allow the acrylic to hardden and dry out. Then use an electric file to file back the clear red acrylic until the white rose petals start to appear. You can manually file it back as well, but the electric file will definitely be faster.


Use a finer file to even out the nail and then apply a layer of gel to seal it.


These are some of the other nails that I've created using the same method. You can also just embed the gold glitter and flaks. They look very nice on their own as well.


Happy Chinese New Year!
I've recently created a set of wedding nails that took me ages to complete. For some reason, I had a design mental block and threw away several nail designs before I came up with the final set.

My friend's wedding dress was cream and gold and her evening gown was a beautiful emerald. I wanted to create a set of nails that's suitable for a Spring/Summer wedding that incorporate all the above colours.

I had to discard these nails because they didn't pass my strictest critique (my dad)!


The big green glitter was making it look really busy and the dried flowers were not bright and glam enough for a wedding, said my critique :) These were the final set created after some additional input from my critique (thanks dad!).

Under Natural Light

Under Fuorescent Lights

The rest of the nails. Only the thumbs and ring finger's got 3D acrylic flowers.


Happy New Year! 2010 really went by in a flash.I hope everyone had a great New Year celebration :)

I have a lot of projects planned for this new year. My new house is going to be ready very soon. I have so much to organise and plan before and after moving in. We're currently deciding on the wall colours and I am going through a white paint nightmare! Little did I know that there are soooo many variations of white wall paint colour. I've purchased a few sample pots and have started painting on huge pieces of cardboard. I've placed them in different rooms to see which one is most suitable. I think I have narrowed down to 3 different whites. Dulux Lexicon Quarter, Lexicon Half and White on White. I'll be using these 3 whites in different parts of the house. I hope they turn out well against the matte dark brown porcelain floors.

My uncle have kindly purchased a new cross trainer for me and we've positioned it right in front of the TV (I love watching dramas). I'll be getting fit this coming year to get my body ready for the next round of fertility treatment.

As for nail art, I've been looking around for an air brush and hope to purchase one soon. There's a lot of different designs I want to try out. At the same time I've also bought a very interesting table lamp for my nail art table. I'll be sharing it with you in my next post.

For this new year, I've decided to go for a sparkly pink nail design.

I used CND Studio White as the base. When I bought this colour, I didn't realise it's a semi sheer nail polish. To get it looking opaque, I think I must have layered more than 5 coats! Then I used Kit's Supernova and drew random large and small semi-circles on all 10 finger nails. Next, I applied medium round glitter flakes along the edges of the semi-circles and cover with top coat. Using a pink and white acrylic powder I drew the 3D flowers and added silver bullions on top. To make it more bling, I've also added a few large and small glass rhinestones. These glass rhinestones look so much better than the regular ones. They are almost as sparkly as the Swarovski rhinestones without the big price tag.


I feel so refreshed after taking 2 weeks leave from work. It's back to work for me tomorrow. Hope it doesn't get too busy these couple of weeks. I think everyone is in holiday mode at this time of the year.

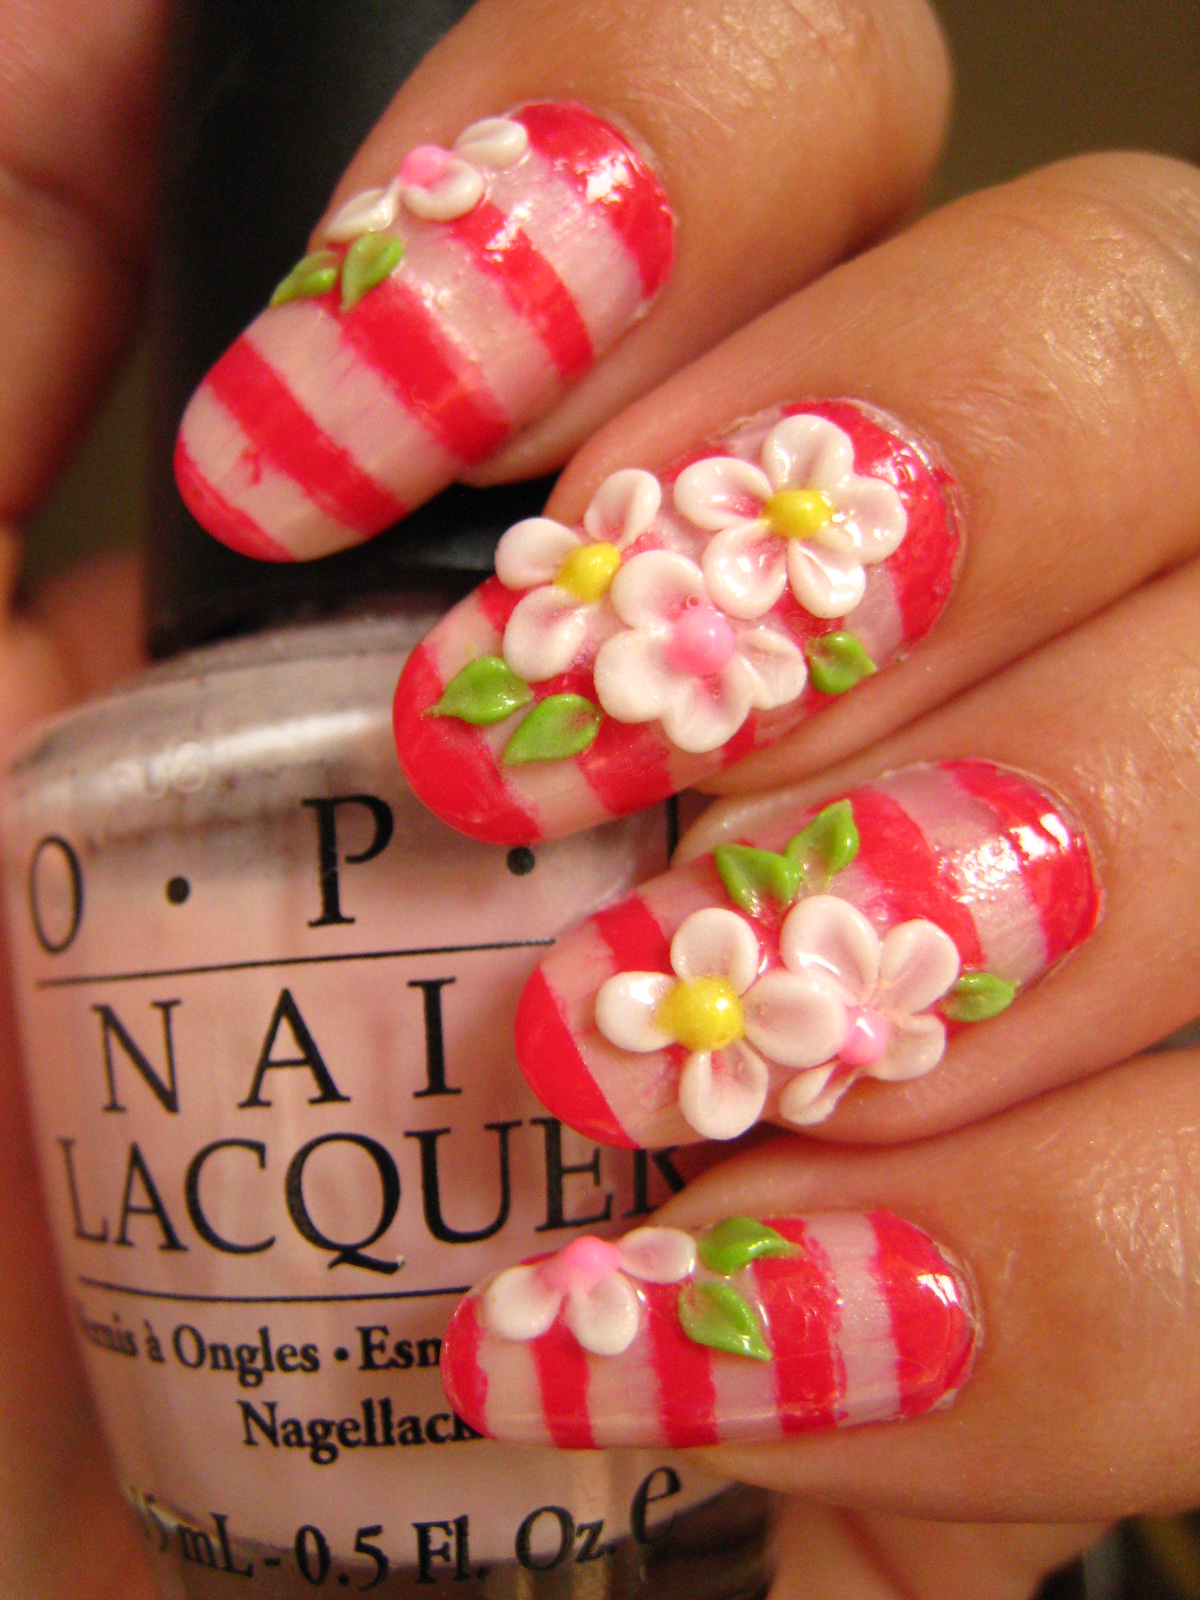
I wanted something cheerful and season appropriate. This is what happens when candy cane strips gets mixed up with a summer 3D acrylic flower design hehe.


The background is OPI's - Isn't It Romantic?

My broken middle finger nail is slowly growing out. I can only fit one flower on it :)

For the strips, I used Essie's- Watermelon

I was out shopping with my sister and her boyfriend and he helped me pick out this neutral colour nail polish called 'Tickle y France-y'. I noticed that the title is a bit of an oxymoron, because if you were to wear a neutral colour, you would want to keep it natural. The problem for me is that I don't usually wear skin tone nail polish and wearing it just by itself seems a little bit too bare for me hehe :)

This is how my neutral nail polish end up looking after adding a few black and silver stripes, sliver glitter and 3D acrylic flowers.


My colleague have been flying over to Melbourne the past 3 years to attend the annual Melbourne Cup event. For people who don't know what it is, it's an annual horse racing event held at the Flemington Racecourse in Melbourne. I know many people turn up dressed in their best. Women attend this event in beautiful dresses, elegant hats or fascinators. The best dressed man and woman stand a chance to win substantial prizes! What I didn't know was that other than the actual Melbourne Cup day, there are lots of other events during the race week. Like Derby Day where it's traditional to wear only black and white (It reminds me of Audrey Hepburn in 'My fair Lady').

For such a special event, I created a set of nails for my friend to match both her black and white dress on Derby Day and the pink dress on Melbourne Cup day.


Big 3D acrylic Ribbon

The Summer heat is on! I nearly died this afternoon when the thermometer registered 39 deg.c! This beautiful orange colour 'OPI - In my Back Pocket' was one of my recent purchase. It's a beautiful bright orange that I absolutely love. Most importantly this mani lasted me 3 weeks without any touch ups!